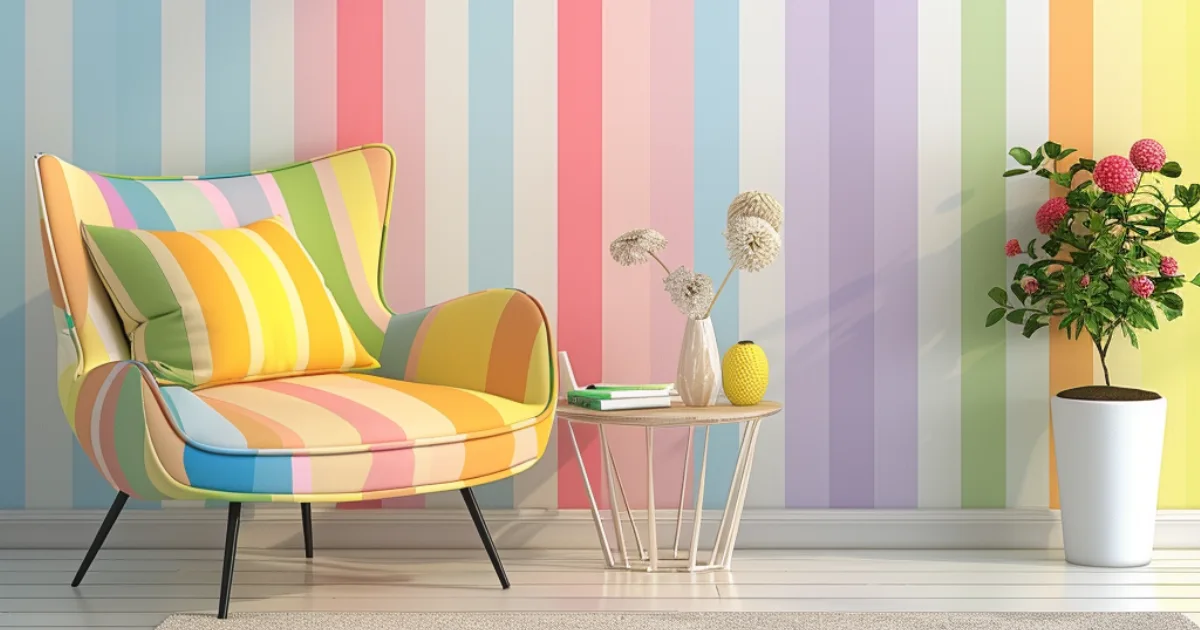
Transform Your Room: DIY Guide to Elegant Striped Walls

Add elegance and dimension to your room with striped walls. Whether If you prefer horizontal or vertical stripes, this DIY project can transform your space with just a few simple steps!
Materials Needed:
- Paint (two contrasting or complementary colors)
- Painter’s tape
- Brushes/rollers
- Level
- Measuring tape
- Pencil
- Drop cloths
- Paint tray
- Ladder (if needed)
Step-by-Step Guide:
1. Prepare the Wall Start by cleaning the wall to remove any dust or debris. A clean surface ensures the paint adheres properly. Lay down drop cloths to protect your floors and furniture from any paint splatters.
2. Measure and Mark the Stripes Decide on the width of your stripes. Wider stripes can make a bold statement, while narrower stripes add a subtle pattern. Use a measuring tape and pencil to mark the width of each stripe from top to bottom. Ensure your lines are straight with the help of a level. This step is crucial for achieving professional-looking results.
3. Apply Painter’s Tape Apply painter’s tape along the outside edges of every other stripe. Make sure to press down firmly on the tape to prevent paint from bleeding underneath. Double-check that the tape is straight and securely attached.
4. Paint the Stripes Begin by painting the entire wall with the lighter color first and let it dry completely. This base coat will help your stripes stand out. Once dry, paint the stripes with the second color. Use a brush or roller to apply the paint evenly within the taped areas. Apply multiple coats if necessary for even coverage, allowing each coat to dry before applying the next.
5. Remove the Tape Carefully remove the painter’s tape while the paint is still slightly wet to avoid pulling off any dried paint. Pull the tape off at a 45-degree angle to ensure clean, crisp lines. If the paint is too dry, score along the edge of the tape with a utility knife before removing it to prevent peeling.6. Final Touches Touch up any areas where paint may have bled or the lines are not as crisp as desired. This may involve using a small brush to correct any imperfections carefully. Once satisfied with the results, remove the drop cloths and clean your brushes and other tools.
